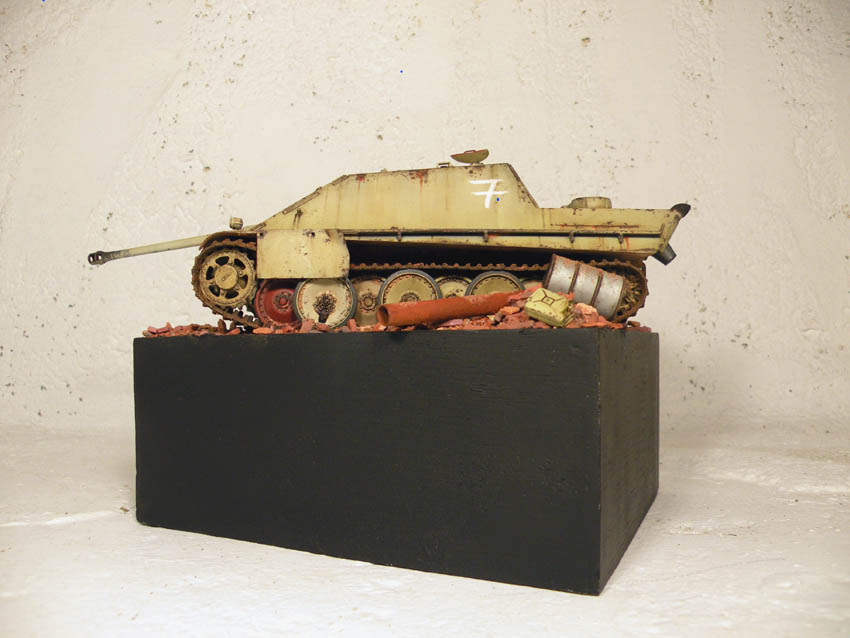
The kit below is quite old, not as old as the Tamiya gun tractor I've just completed, but quite old none the less. There are no model shops where I live - not one........ Therefore I have to buy everything online. So, when this particular kit (one which I've seen many times for silly high prices) suddenly appeared for an unbelievably reasonable price, I of course had to buy it immediately. One of my favourite armoured machines of WWII is the Jagdpanzer 38(t), so this big brother to the little tank hunter is an exciting machine to build.
Below: Okay, so last night, despite having a few kits on the go, I reached for the top of my modest stash with the expectation and excitement most modellers must feel, and lifted my Jagdpanther down. As with most Tamiya kits, the parts are clean so I don't expect too much trouble while assembling the kit. I have previously made a few notes about little changes I would like to make, and I'll document them on this blog as I work on them.
Below: I have managed to add a lot of components to both the upper part of the hull and the engine deck. I also fitted the escape hatch which has some nice interior detail enabling it to be left open if I wish. I didn't replace the grab handles with brass ones as the kit versions are good enough.
Below: As you can see I bought myself some photo-etch engine grills. These are the ones recommended in the kit instructions and are for a late Panther G which has the same engine deck complete with crew heater. Strangely enough, the instructions that came with the PE state the set is not suitable for this kit! I have offered the pieces up and they look like they'll fit just fine - fingers crossed :)
Below: I used my trusty sanding sticks and thinned out the plastic mud guards/fenders. In reality these were very thin metal. Once thinned they can be slowly manipulated with your fingers and bent into your required shape (be patient and don't over do it or they'll snap off, especially if you've over-thinned the plastic). To make sure they look natural, I use WWII photos and emulate a real machine's mud guards. You can also add some glue underneath to soften the plastic and help manipulate the shape.
Below: in this WWII photo that I used as one of my references you can see the mud guards/fenders are bent inwards towards the tracks, and it looks as though one is actually rubbing on the turning track. My Jagdpanther is a later version than the one pictured and will not have any Zimmerit.
More soon..................